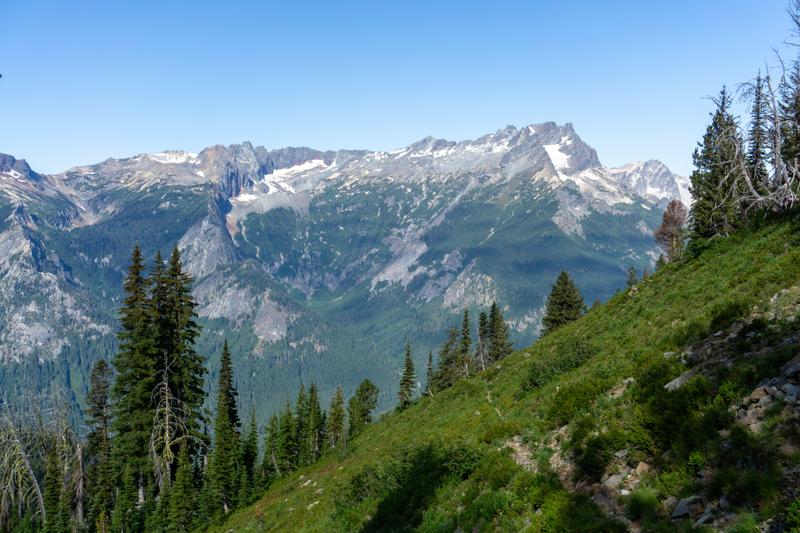
Before this trip, I had never been back into the Entiat range. Since the Chiwawa River road had just reopened after an extended closure, I figured this was the perfect opportunity.
The Entiats boast three peaks over 9000 feet, which are the giants of the Entiat cirque: Mt. Maude, Mt. Fernow, and Seven Fingered Jack. My plan was to start by reaching the ridge of Carne Mountain, then hike both Mt. Maude and Seven Fingered Jack before returning to the car.
Aside from enjoying the beautiful scenery and peakbagging, one of my goals for this trip was to test an idea I had for enriching trip reports with 360-degree panoramic photography. I brought some new equipment to try out, and I’ve embedded some of the results on this page. These panoramas are big files, so when you get to them, you’ll need to tap a button to load each one. I’m still experimenting with how to show these, for now, the best way to view them is to tap the button to go full-screen.
I left the Phelps Creek trailhead at around 8:00 am and made quick progress up the Carne Mountain trail with fresh legs. The trail is efficient and easy to navigate. On the way up, I was treated to stunning views of Buck Mountain and the southern Chiwawa Ridge.

At Carne Basin, I ran into some hikers and chatted for a bit. This basin has a nice running creek and is a good spot to refill water, although I skipped it since I started with enough. From Carne Basin, it was a quick hike up to the ridge and an easy trail from the junction to the summit of Carne Mountain. From there, I enjoyed lovely views of Glacier Peak and the surrounding high country. It was also my first glimpse of the larger mountains I was about to explore.
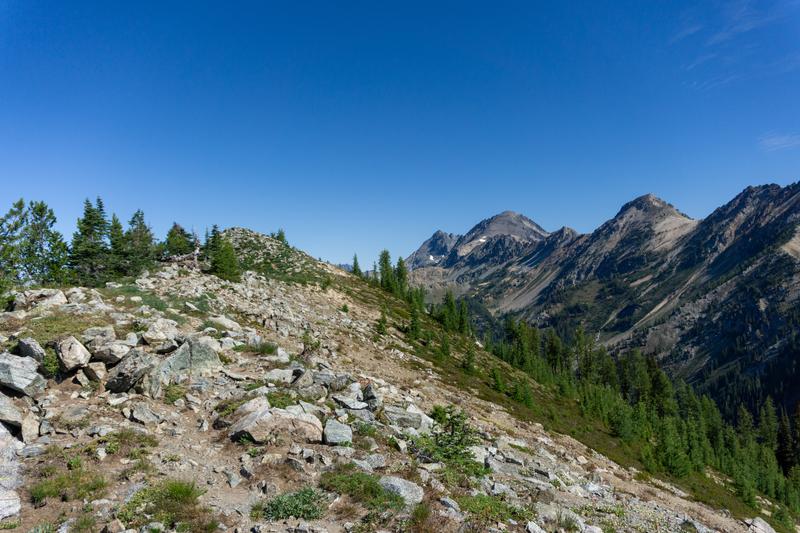
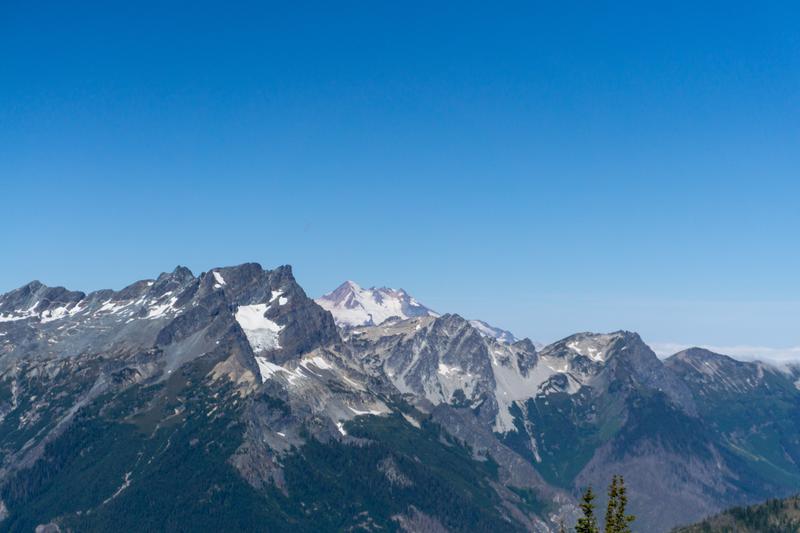
After assessing the terrain ahead, I retraced my steps down the Carne summit spur trail to the junction where I had joined the ridge. From there, I descended on the east side of the ridge, following the trail. I wasn’t sure what to expect, but I found the trail pleasant and even runnable for long stretches. It meandered through some beautiful forested slopes and alpine bowls while gradually descending to around 6200 feet. I came across a nice flowing stream, one of the Box Creek tributaries, and refilled my water here.
The trail gradually became more rugged and eventually disappeared near the final crossing of Box Creek at approximately 6500’. I followed the flow of water into an alpine bowl beneath the slopes of Icebox Peak. Although there wasn’t a defined trail, the route-finding was straightforward, and the travel was easy on the grassy slopes. I hiked up to a gentle notch at 7000’ and enjoyed the views of the Chiwawa Range and the Box Creek drainage behind me.
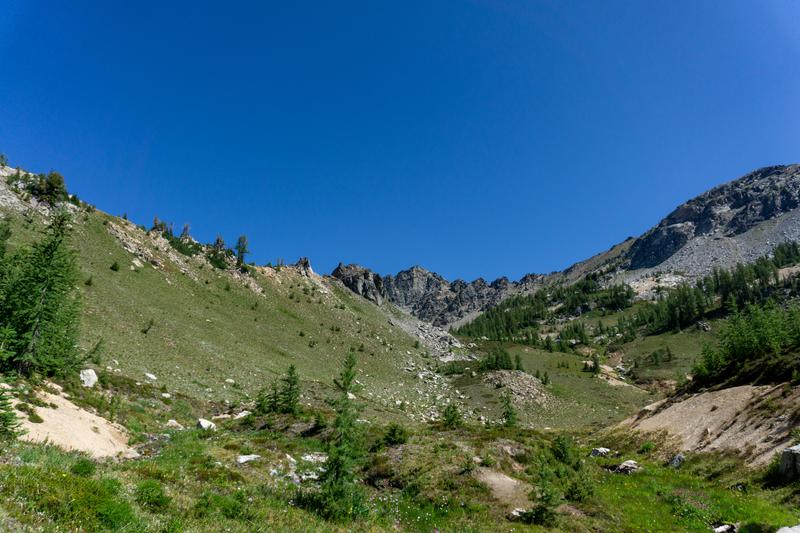
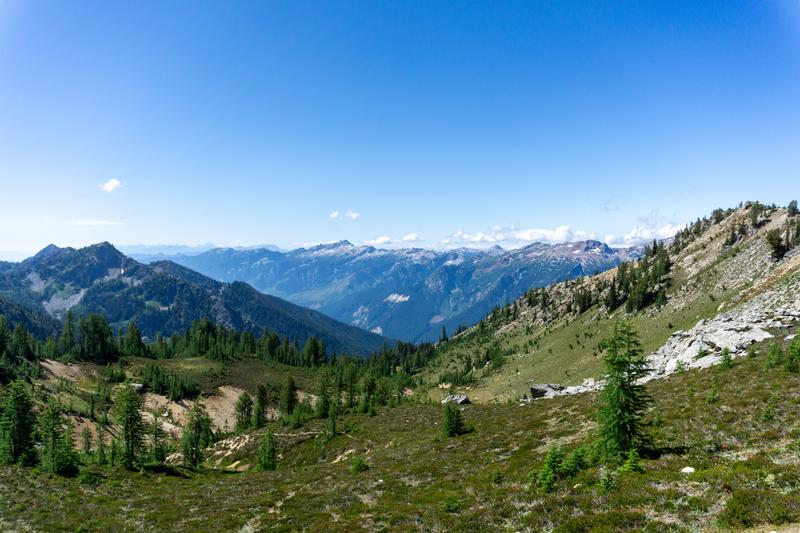
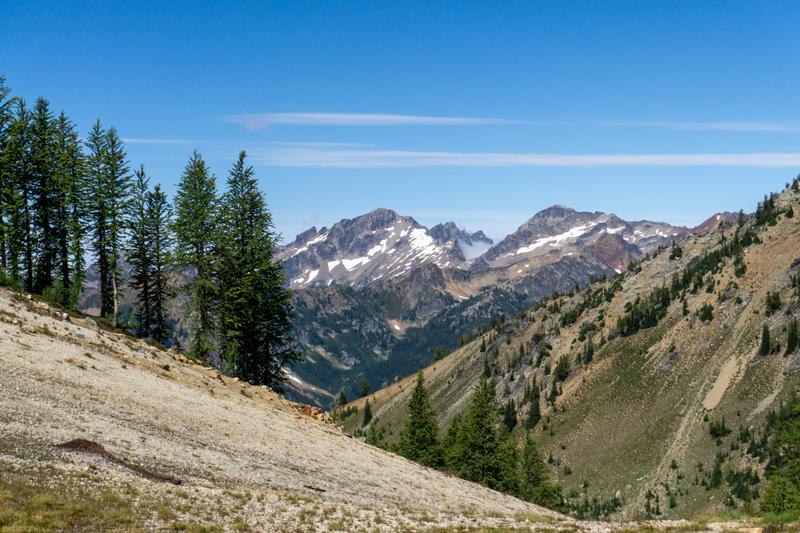
The trail continued across the Chipmunk Creek drainage on the west slopes of Freezer Peak, then climbed a steep bowl to another small notch I’ll refer to as “Not Quite Freezer Pass” at around 7350’. In this last section to the notch, the trail briefly vanished, but going straight up worked well as usual. From here, I could see the trail continuing across some talus towards Freezer Pass and Maude.
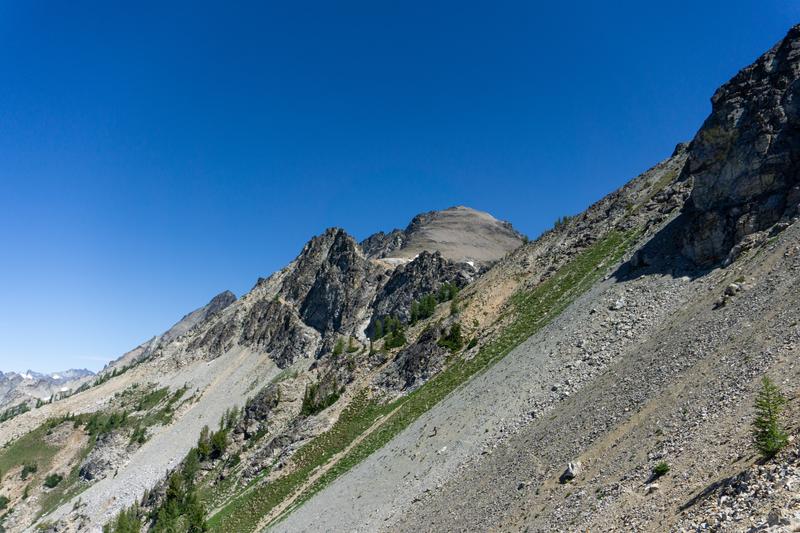
I crossed the talus on the trail. On the other side of the talus field, there are a few drainage gullies that I shuffled across. From here, I found a climbers trail that took me directly up to freezer pass.
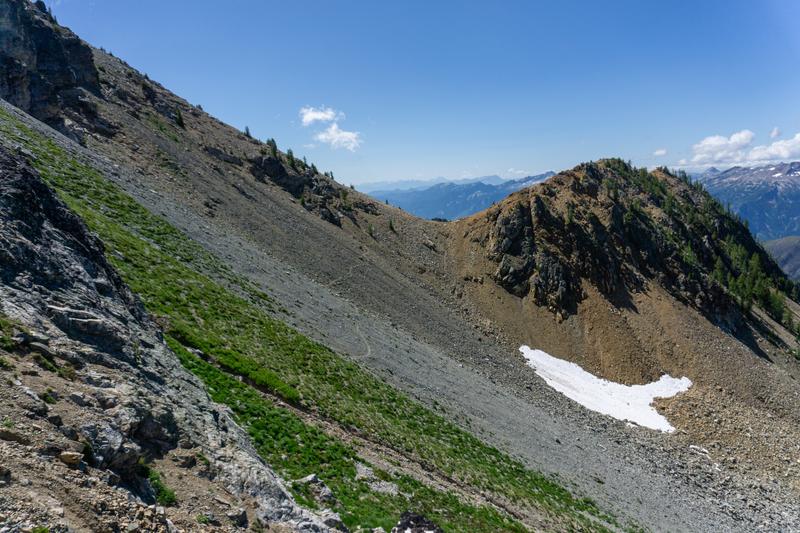
At Freezer pass, I found a great view of Upper Ice Lake. The pass itself and the lakes look like fantastic camp sites, and at least one party clearly thought the same since their tent was set up right at the pass. I took a look at Mt. Maude and the easy ridge route I was planning on, then dropped down from Freezer pass to start heading up.
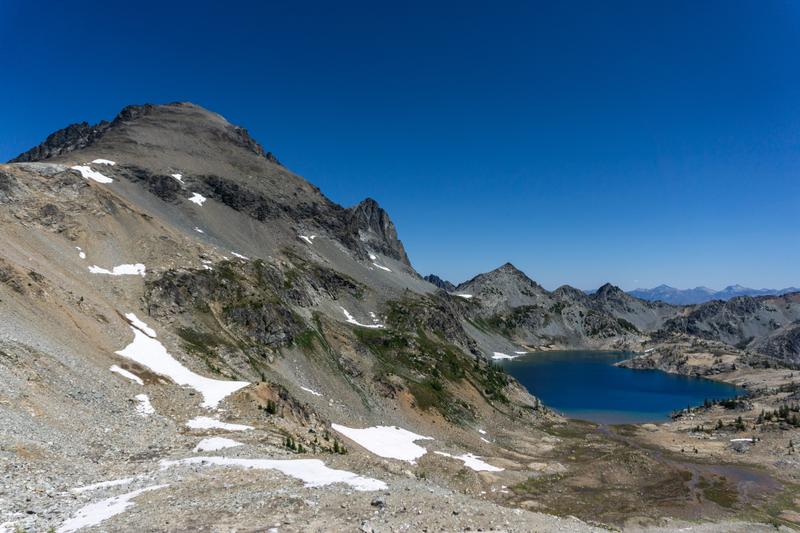
This route proved to be very simple and enjoyable hiking with very little route-finding since the trail is well-worn and popular. I crossed a few small snowfields, then hiked talus and dirt until reaching an elevation of about 8000’. Then, I took a sharp left up to the ridge and followed the established trail to the summit.
Mt. Maude is for sure the easiest of Washington’s 9000+ foot summits to reach, and the view is exactly as great as you would expect. To the north, the Entiat cirque cuts across the landscape, revealing the steep south faces of Seven Fingered Jack and Fernow. Below Maude, on the terminal edges of the Entiat glacier, I saw a few bright blue glacial tarns.
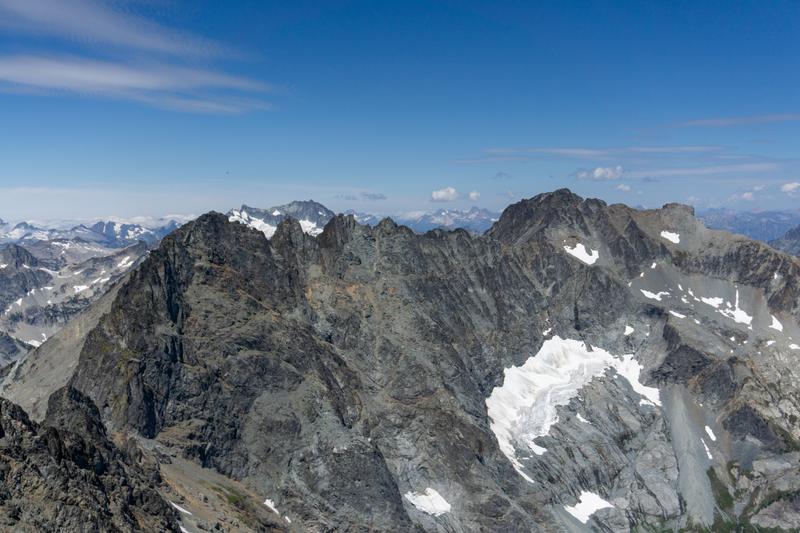
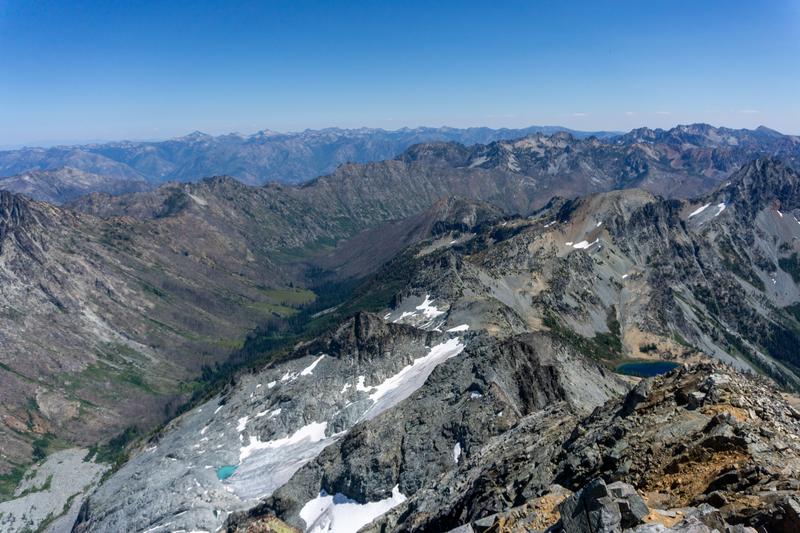
Beyond these peaks, Bonanza and Dome Peak guard the furthest north cascade high country, blending into the horizon. Even Washington Pass classics can be seen in the distance, like Silver Star, Tower, and Golden Horn.
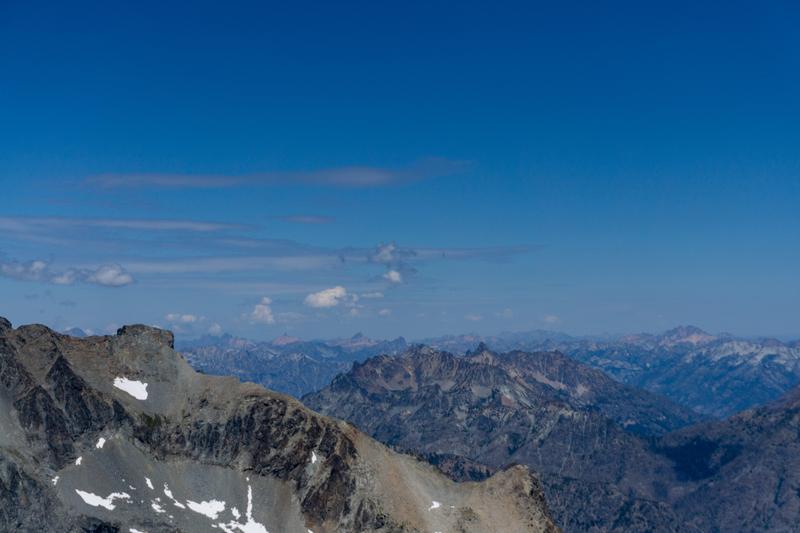
To the West, Glacier Peak and the surrounding high country dominate the view. The ice-shrouded summits of Clark and Lahuna can be seen here as well.
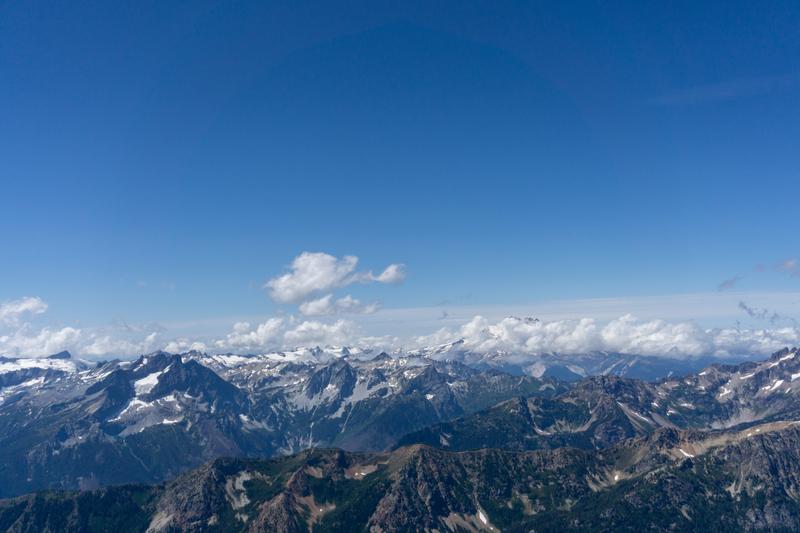
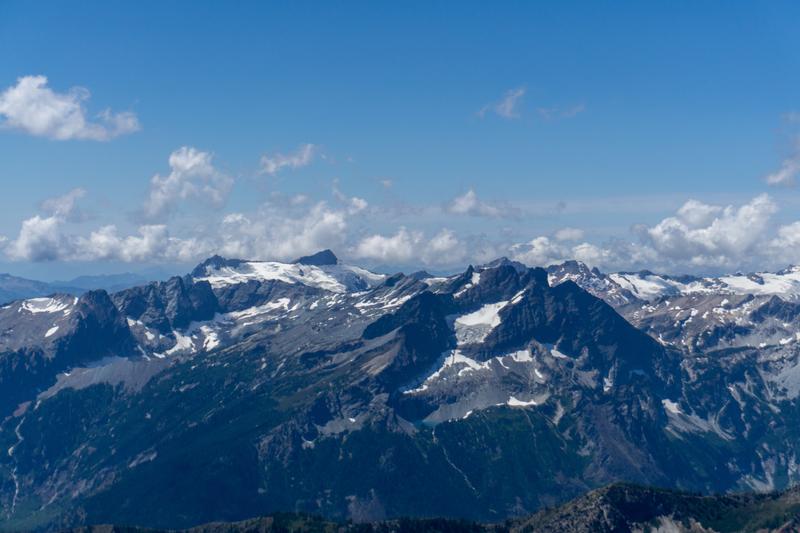
Northeast, the Lake Chelan Sawtooth Wilderness ridges rise up to meet the horizon. Here, Oval Peak is the most clearly visible, with others nearby like Star and Courtney surrounding it.
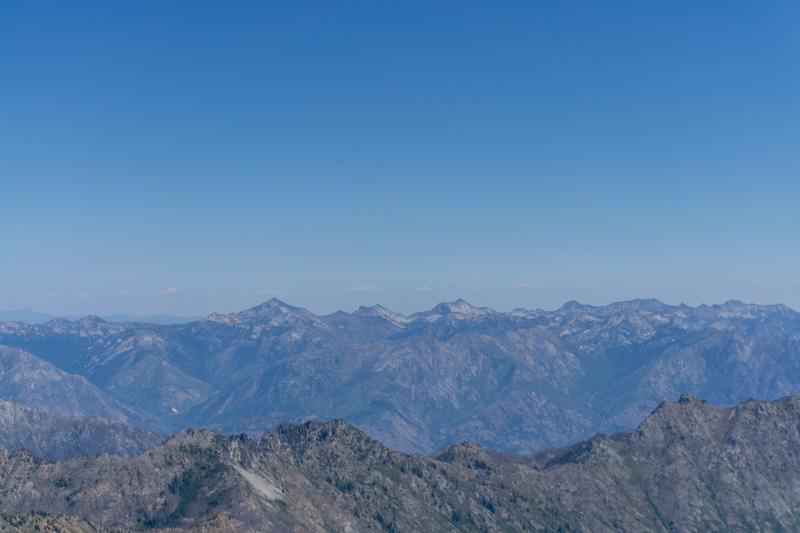
I stayed on the summit for about 30 minutes, enjoying the view, taking photos, and eating some lunch. After I had my fill, I shuffled back down the ridge to Freezer pass. I chatted with another group that had come from Leroy basin and asked about the trail that would take me there. They told me that it’s mostly easy, but the key for the first talus slope is to stay high. This was great advice.
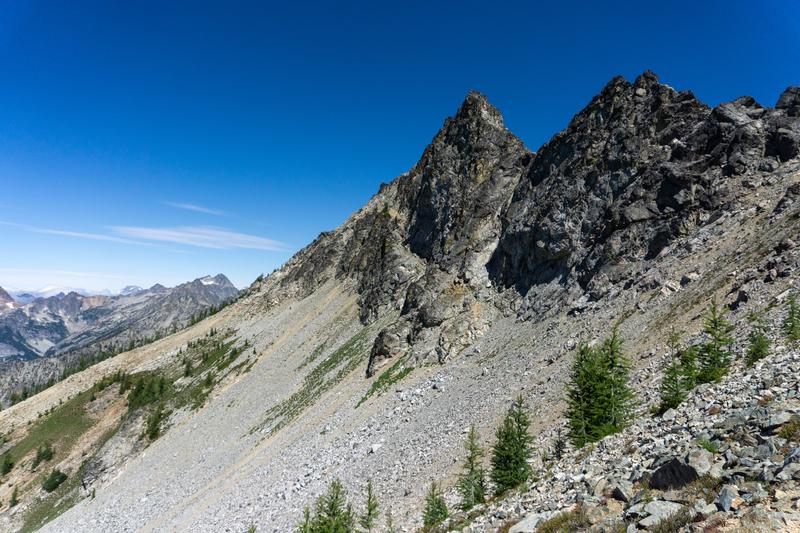
Once I crossed this first talus field, the trail got incredibly good for a little while.
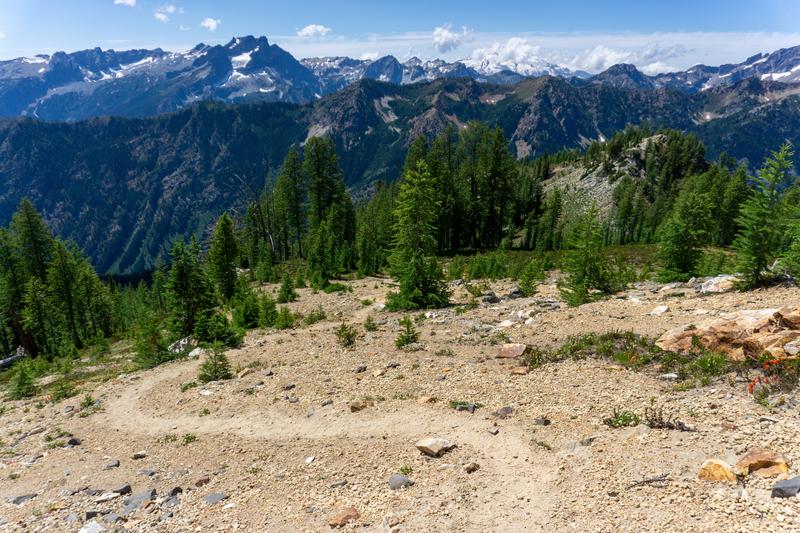
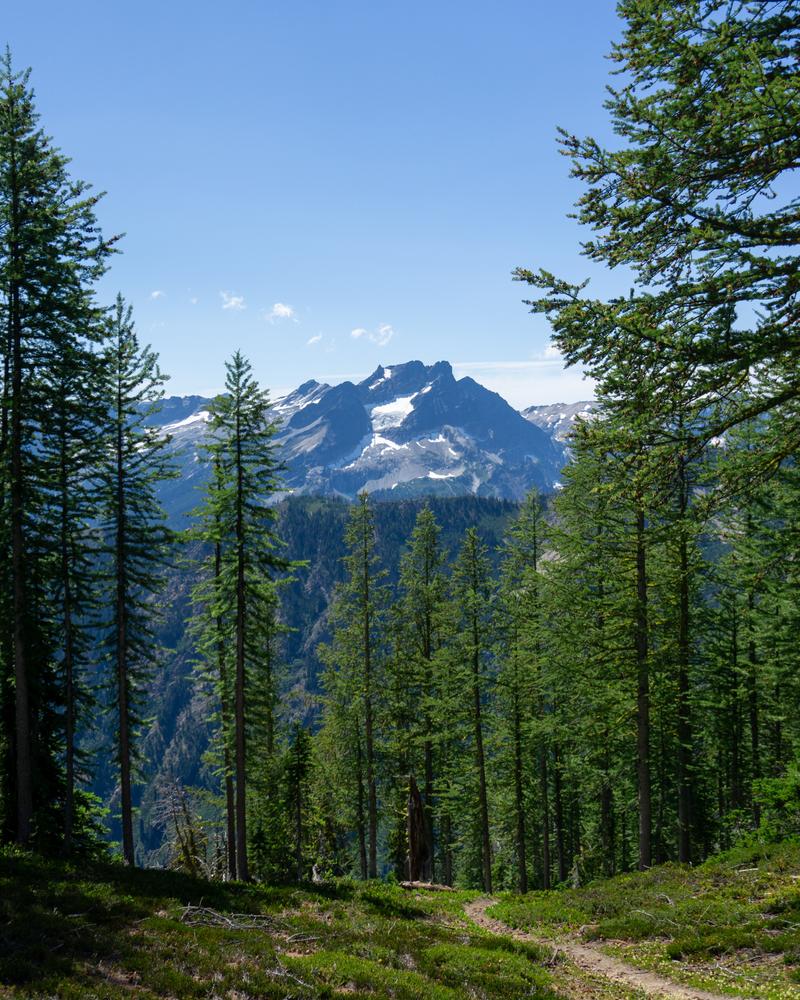
Though this quality of trail didn’t hold for the entire traverse to Leroy basin, I still found this section very enjoyable, and when the trail did cross boulders and talus, it emerged on the other side just as clear and easy to follow. I took this trail all the way to Leroy basin, where the Seven Fingered Jack climbers trail branches off just before a large creek.
At the junction, I refilled my water and took the obvious climbers trail straight up. I followed this trail up to a large flat “vegetated bench” at around 6750’. Some report that you can go straight up the gulley directly in front of you here, but I opted to turn left and follow the flow of water in the direction of a large gulley with some lingering snow.
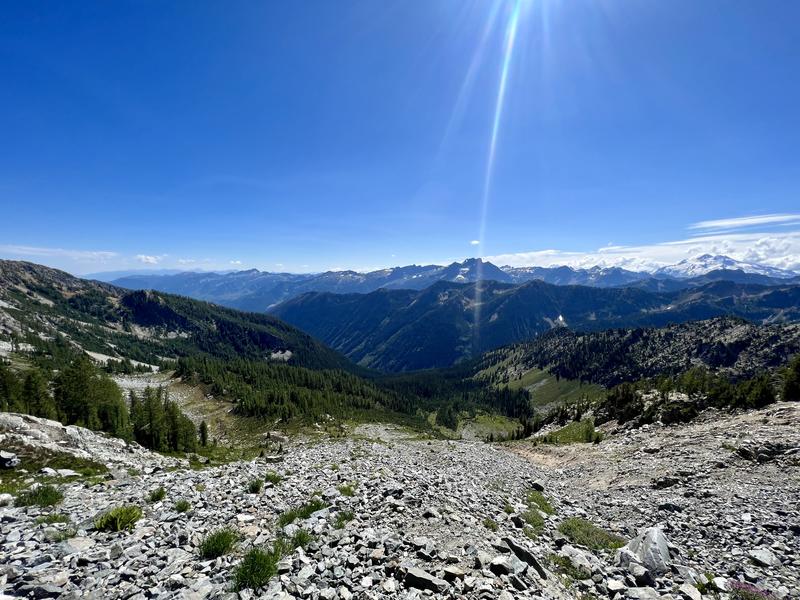
Once I ascended to around 7400’, I took a right turn and found an easy gulley that brought me to another flat bench at around 7800’. This bench was rocky rather than vegetated like the lower one.
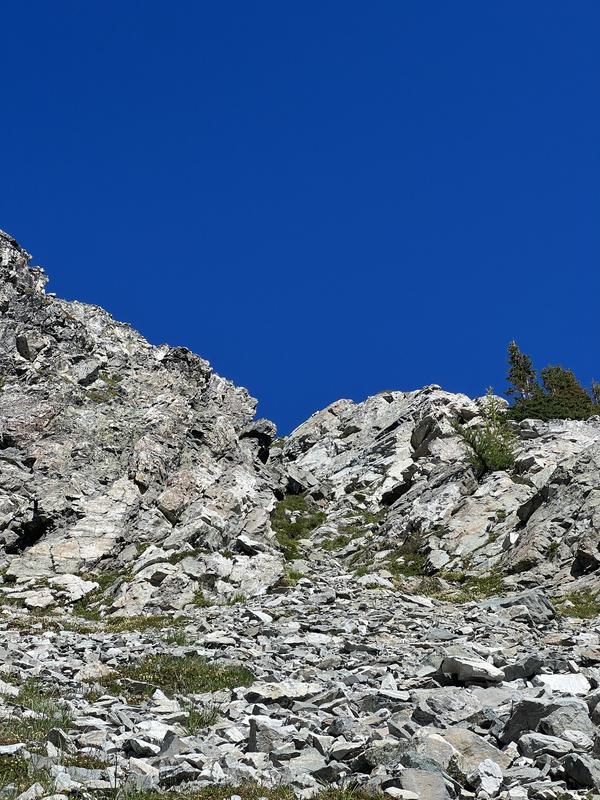
From here, I started ascending and aimed for the leftmost pinnacle. The one I was aiming for has a thin pillar that from a distance looks like a person standing on the ridge.
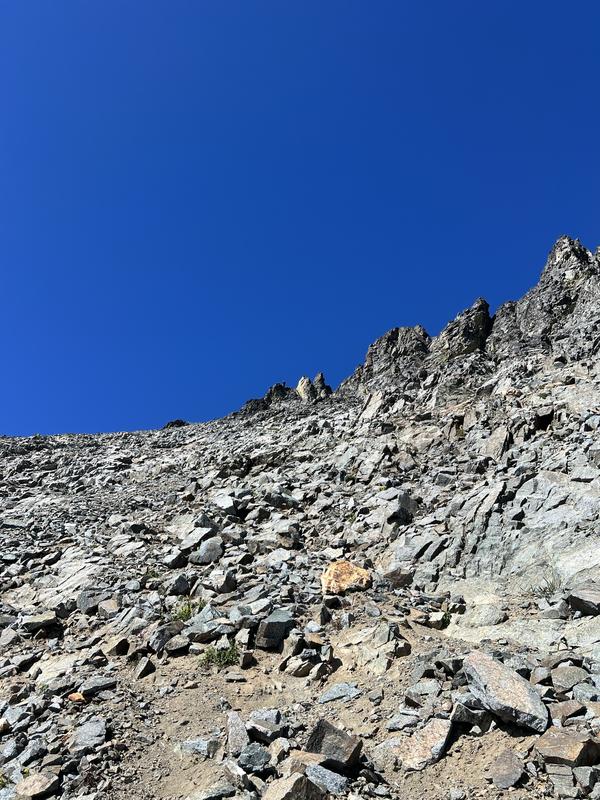
When I got close to this pinnacle, I made a route-finding mistake and took a gulley just to the right of this pinnacle rather than traversing lower and to the left. This gulley was firmly class three, and more exposed, but I actually enjoyed it. When I reached the top of the gulley, I saw an easy and established route on the other side.
I went straight up for a few minutes until I reached the highest point in this gulley. From here though, the direct route looked a little spicy. It probably goes, but more class 3/4 if I had to guess. I looked around and spotted a cairn lower down to climbers left and went to check it out. Around the corner by the cairn, I found another easier gulley that went right to the summit.
I took this gulley up to the false summit on the right. This is where the class 3/4 route would dump you. There are a series of flat rocks right on the edge that lead to the true summit. If you happen to like heights, this little catwalk is an A+ quality hop, skip, and jump over to the true summit. Alternatively, just go down a little bit and scramble to the summit or skip the little false summit entirely.
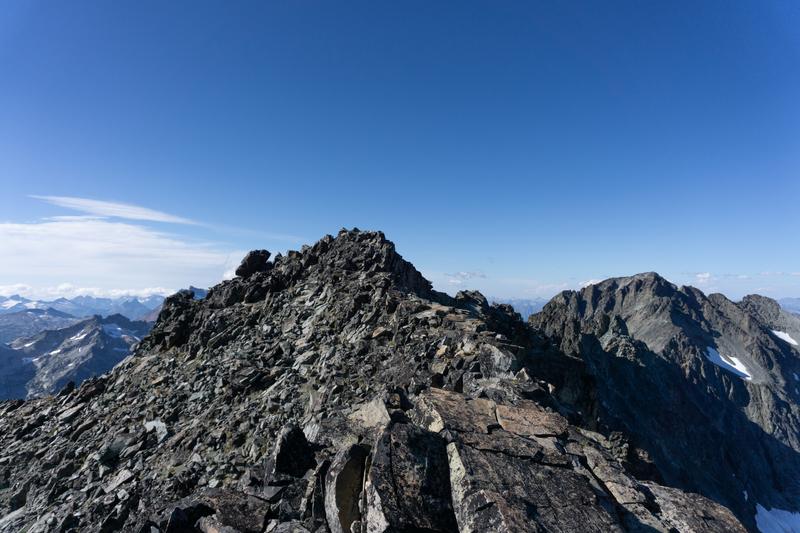
From the summit, I was struck with the sheer north face of Maude! It’s hard to tell from the top, but Maude is actually a very aesthetic mountain from this angle!
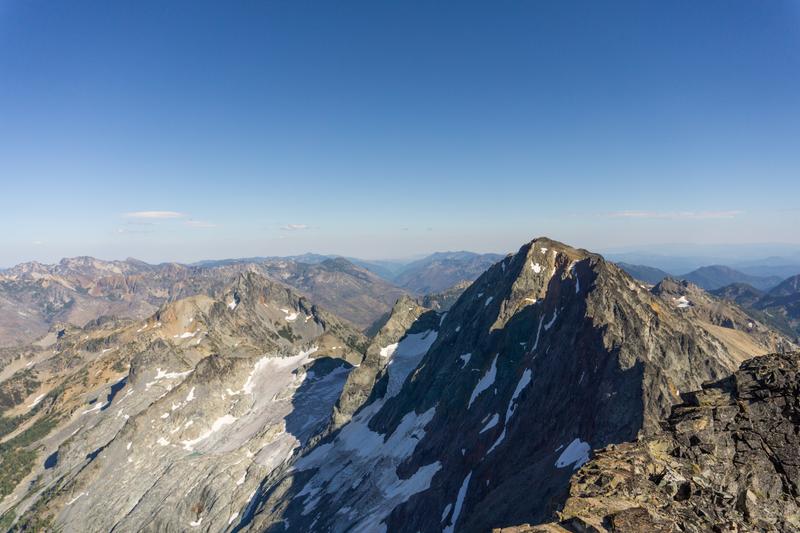
I also was treated to the same cascade views I got earlier from Maude, but now in the afternoon light.
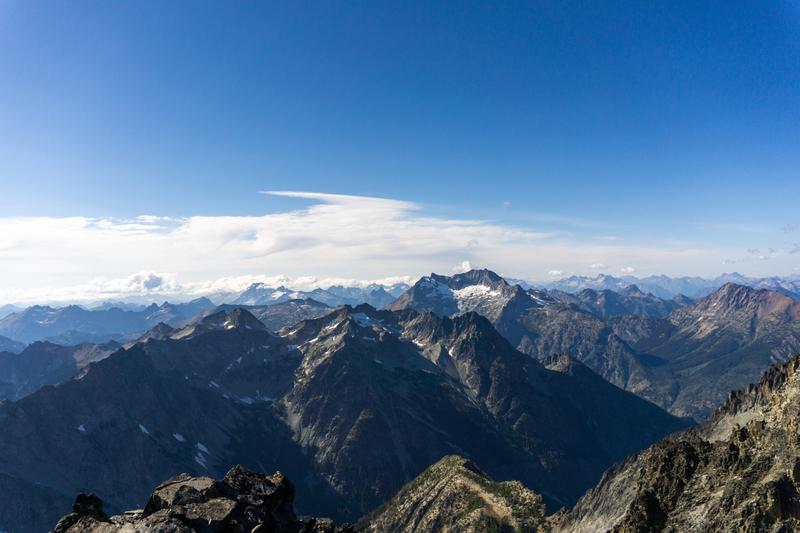
I sat for a while before descending via broadly the same route. On the way down, I made a few adjustments to avoid the steeper gullies that I went up. Overall, I found the route down to be easier because it was much easier to see which areas were more trafficked by climbers.
Back near the vegetated bench, I found a marmot posing for me in front of 7FJ and took a photo before continuing down to Leroy Basin.
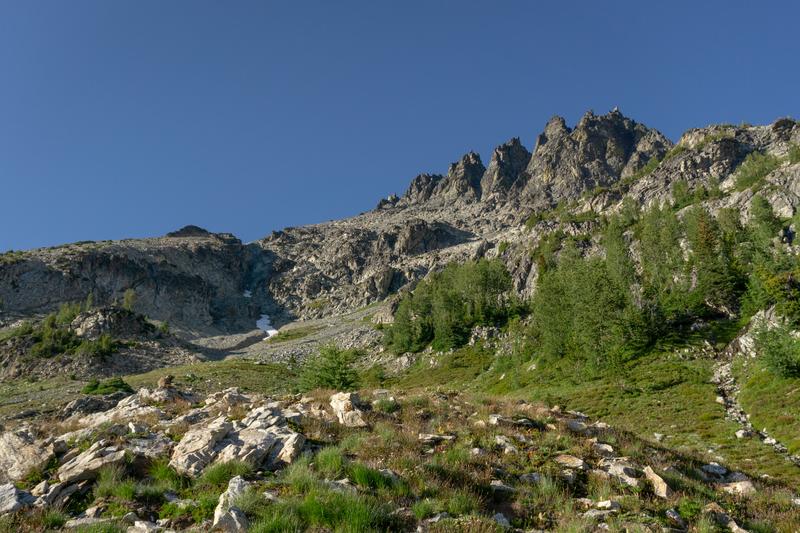
From Leroy Basin, the trail drops quickly to Phelps Creek. People I ran into throughout the day kept calling it a “climbers trail,” so I didn’t quite know what to expect. It was certainly steep in places, but more importantly, it was really easy to follow and I didn’t lose it at all.
When I reached the Phelps Creek junction, the daylight was waning, so I moved quickly to refill my water and get back to the car. The Phelps Creek trail is incredibly flat, wide in most places, and really rips. Even at the end of the day, I did 10-minute miles out of here, no problem. I got back to the car just before I would have needed to use a headlamp for a total trip time of 12:45.
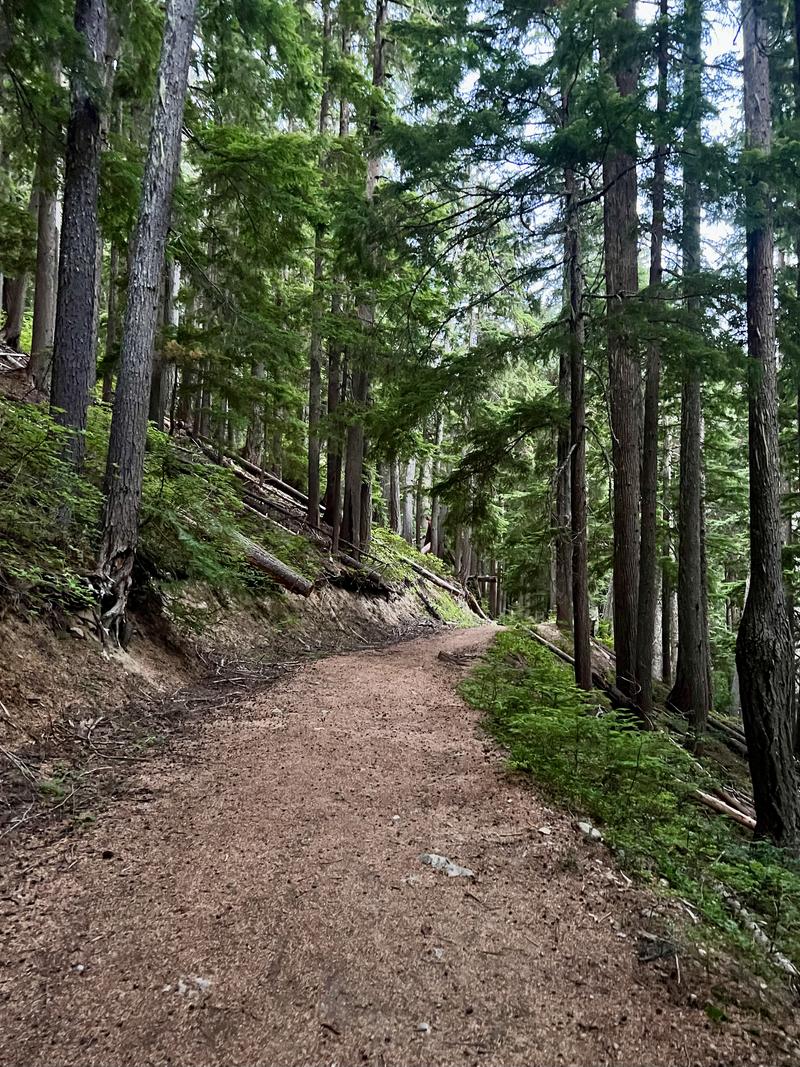
Stats: 19.5 miles, 10361’ elevation gain and loss
Map (click the “Open in CalTopo” button to view all tracks and annotations):